

easy flower arrangements vase white
Happy Friday Friends! For those of you who have been following me on my blog or social media, you may have noticed that I LOVE flowers! I buy flowers for my home every week, either at the grocery store or at the flower mart depending on what is happening. I love the process of arranging them and using them seasonally in my decor.
I often get comments and questions about my flowers, so I thought I would start a weekly series with details about the arrangements that I feature, including step by step instructions on how I make them. Sometimes it's as simple as putting some market flowers in a vase and other times I am creating arrangements for a party or event using floral foam and interesting containers. Whatever the case, I will be sharing with you all each week!
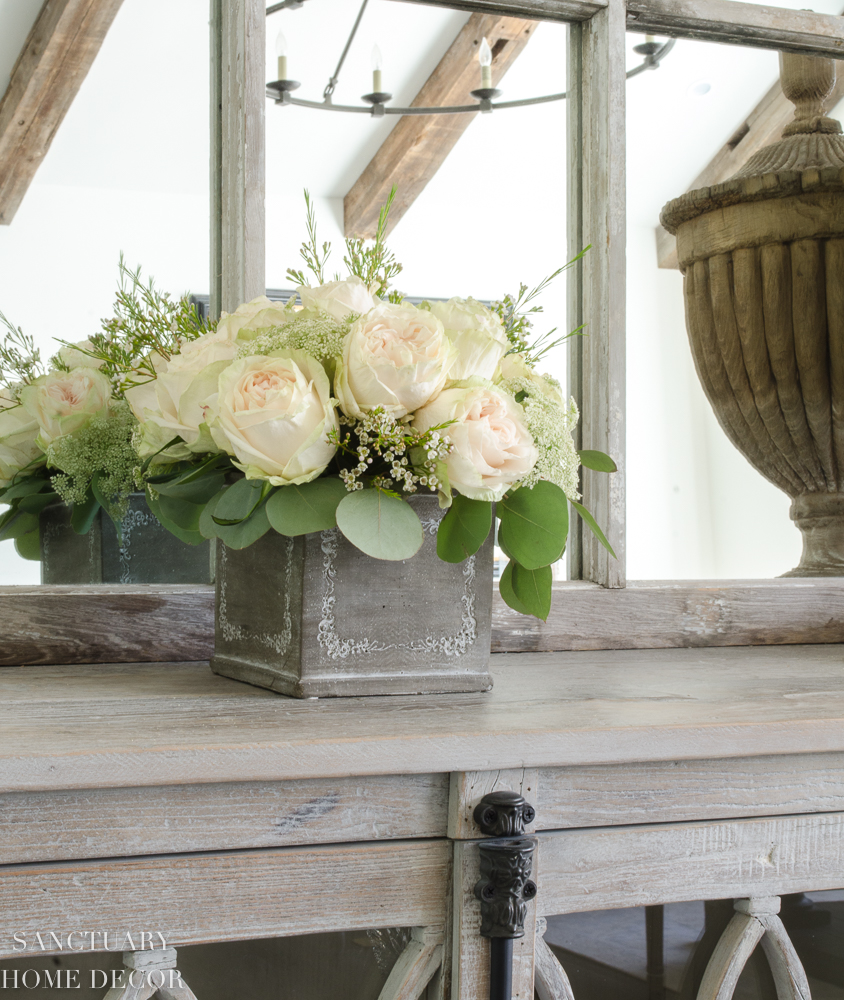
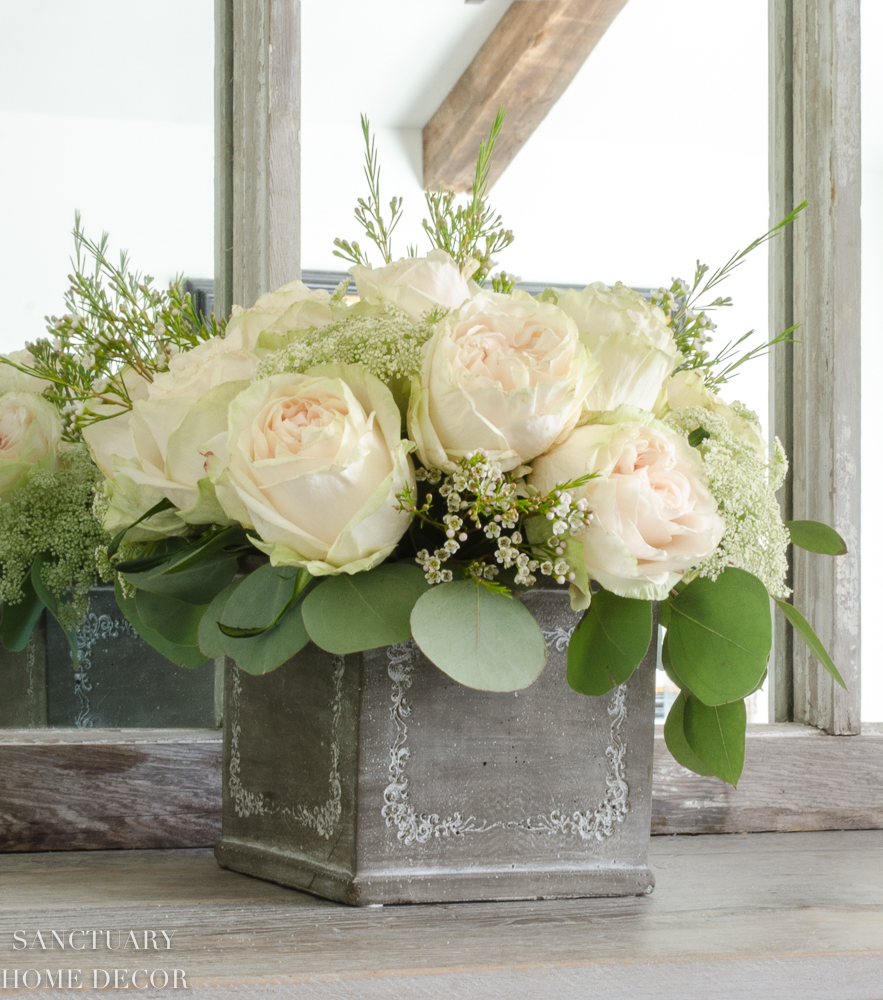
Last weekend was super busy at our house. We had a two birthday parties here so I definitely needed some fresh flower arrangements! I wanted a simple arrangement in my living room, so I created this little beauty with some flowers I picked up at the flower mart.
HERE'S WHAT YOU WILL NEED TO MAKE THIS ARRANGEMENT
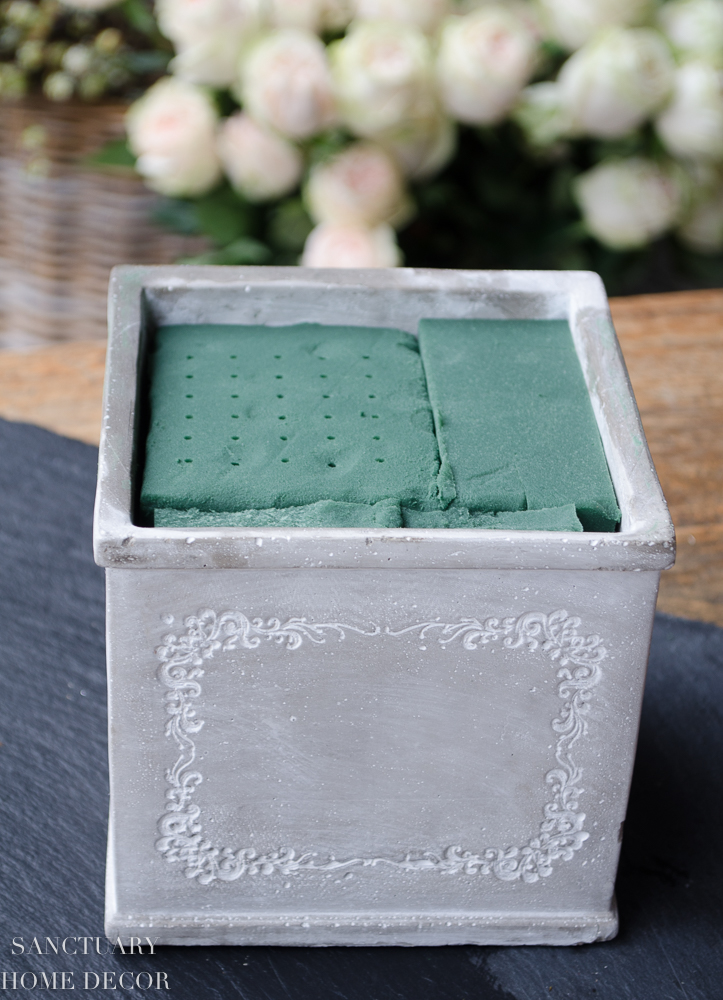
1.5 " square container – I chose a cement container that I had left over from another arrangement. You could use just about any square (or round if you prefer) container that is about 5″ in diameter. I have linked some container options at the end of this post.
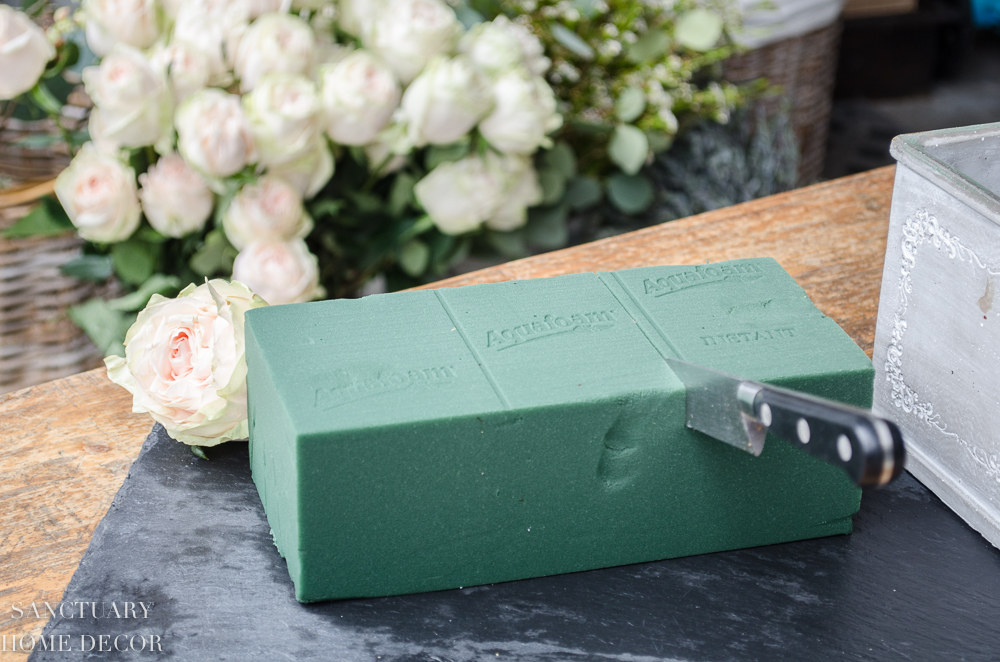
2. Floral Foam (For Wet Arrangements) I use AquaFoam, but any wet floral foam will work. You can get this at most craft supply stores.
3. Floral Clippers
4. Flowers – Detailed Below
FLOWERS
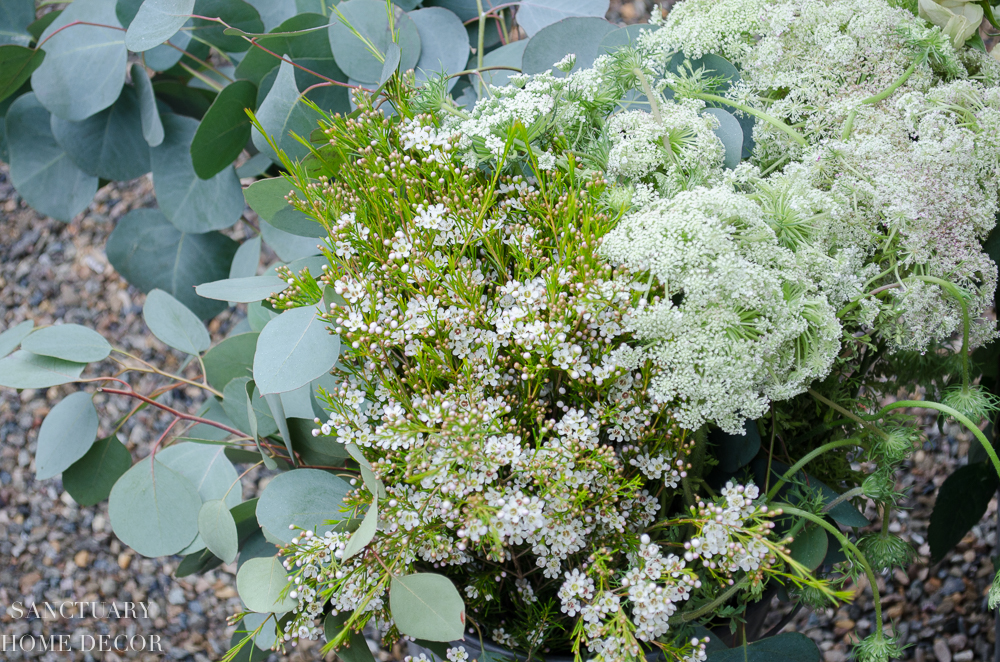
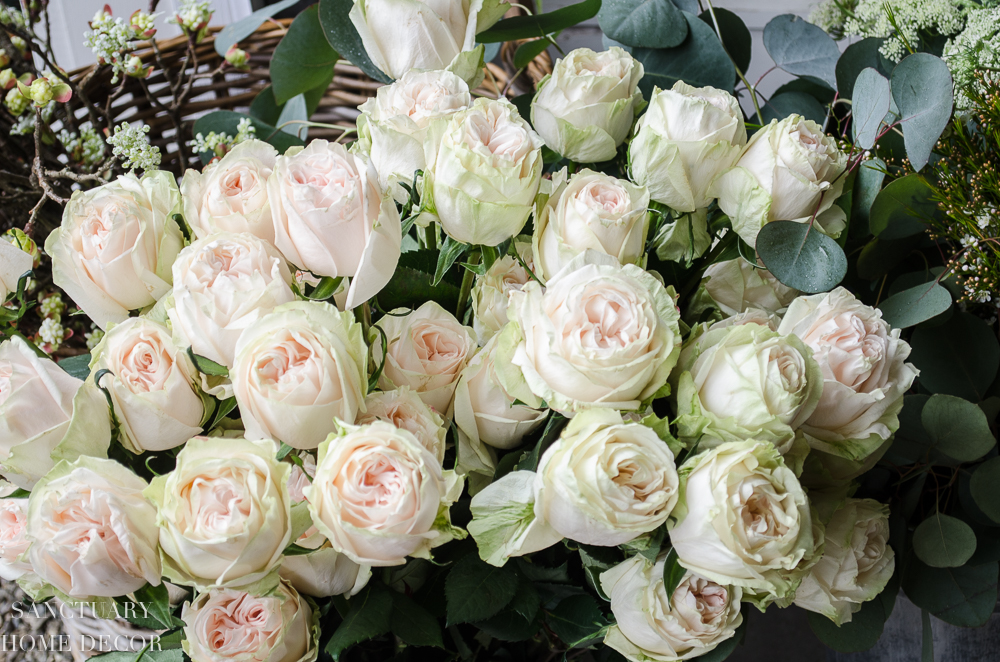
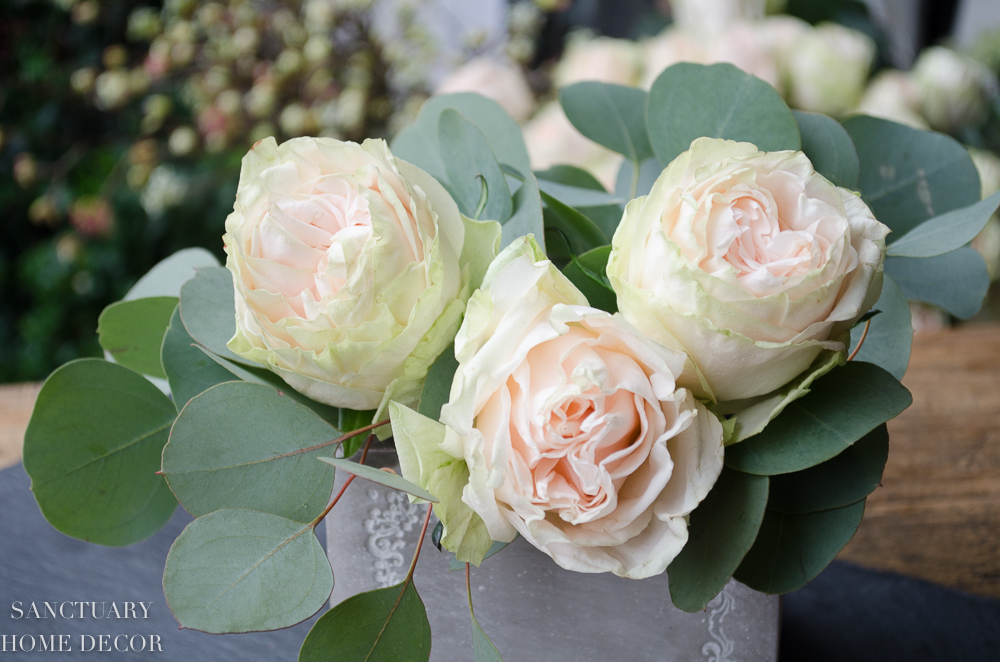
For this arrangement, I used Silver Dollar Eucalyptus, White Wax Flower, Queen Anne's Lace and Blush Garden Roses This is just what I chose, but please know that you can substitute any greens or flowers that you like.
{STEP 1}
Add Saturated Floral Foam to Your Container
The very first thing to do is soak your floral foam in water until it is saturated. Once it is soaked through, cut it using a knife and fit it inside your container. You can use a few different pieces to fill the container in completely. The foam should be just below the top of the container.
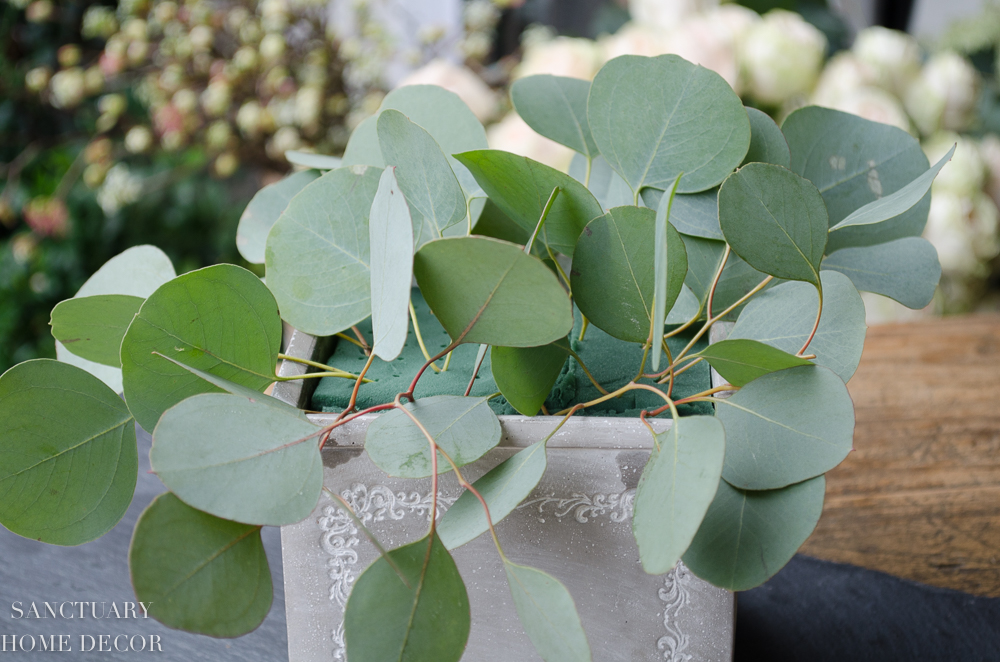
{STEP 2}
Insert the Greens to Create a Base
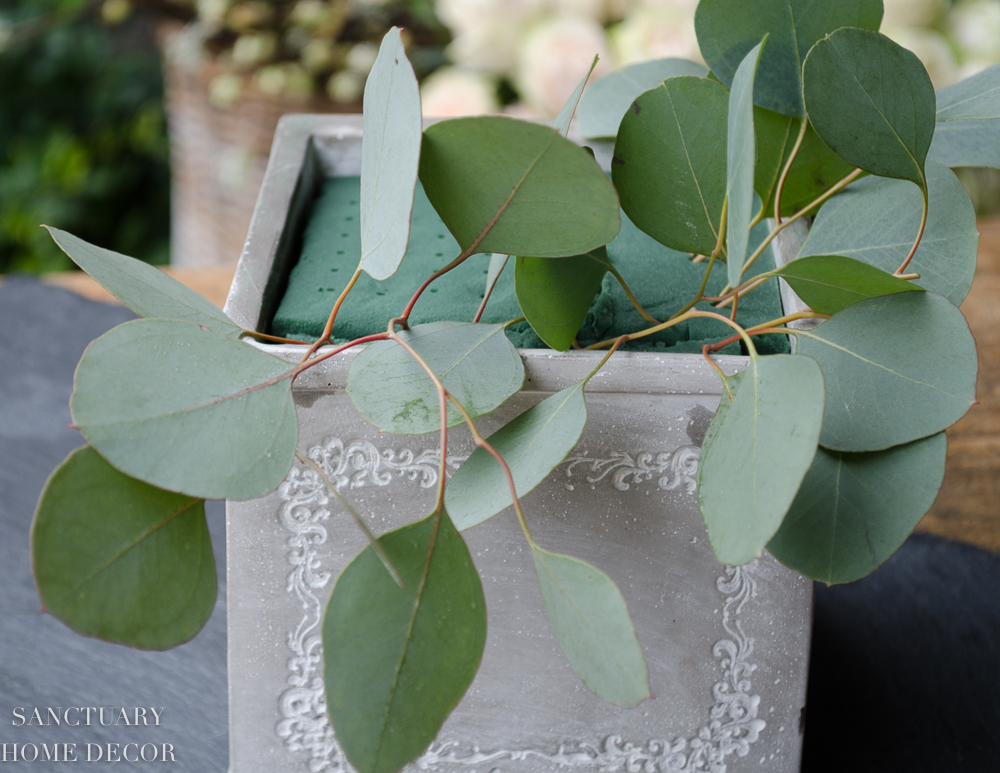
Begin with the eucalyptus (or whatever greens you chose). Insert the stems into the floral foam beginning at edges and letting the leaves droop down . Continue around the perimeter of the container and then add a few stems in the center. The goal is to create a base of greenery for your flowers.
{STEP 3}
Insert Your Flowers
Once you have your base, begin adding the largest flowers. I started with the roses. I cut the stems 5″-7″ long and removed all of the leaves.
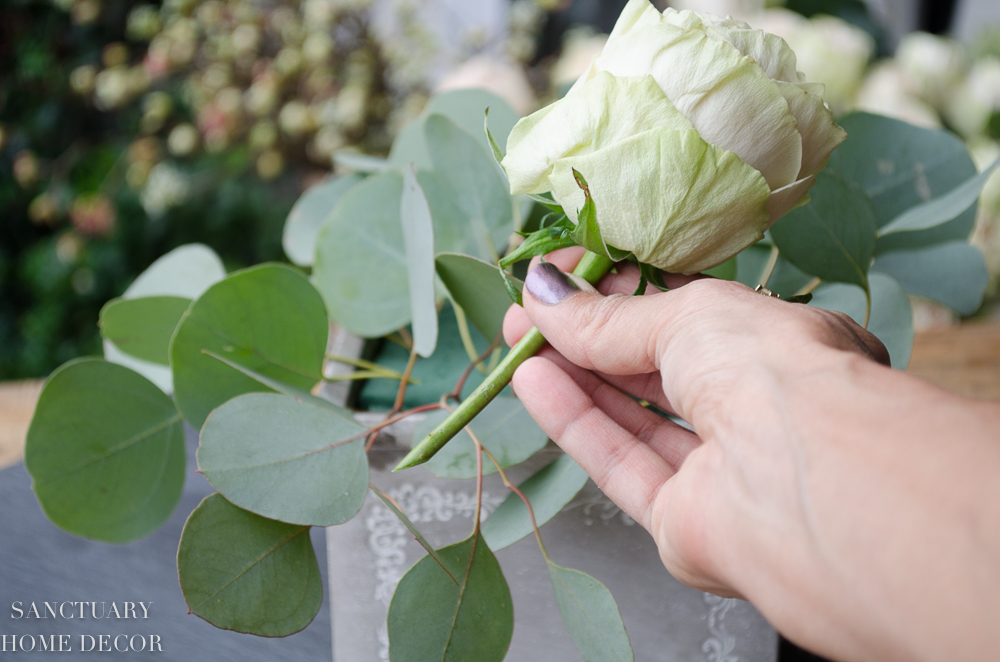
I started inserting the roses at an angle into the foam. In order to get the shape right, it is important to get the perimeter rose heads angled sideways, rather than straight.
I continued filling in the roses at different angles, but left space in-between them for the other flowers. I used a total of fifteen roses for this arrangement, but you could easily use only a dozen.

Once I had all of the roses placed, I inserted a few sprigs of Queen Anne's lace in the open spaces.
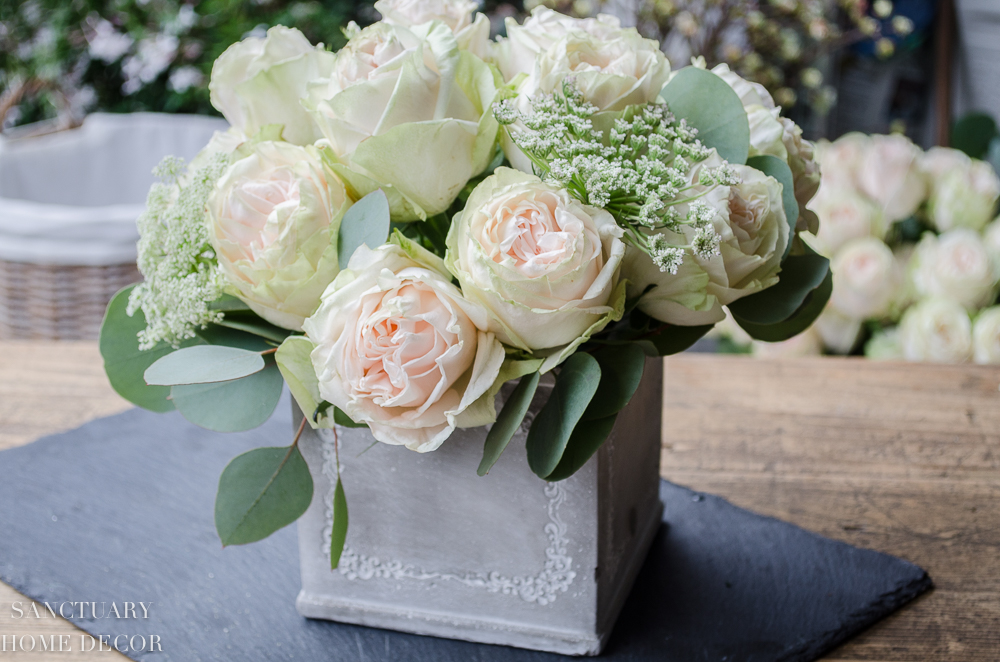
I filled in any remaining holes with the wax flower.
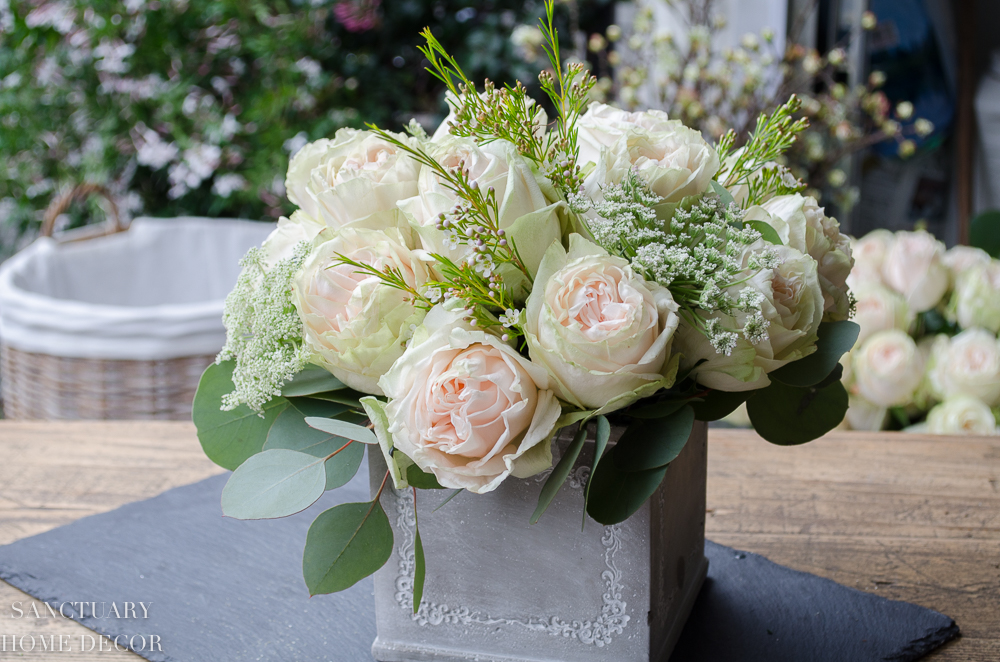
And there you have it!
A simple arrangement for any occasion!
It only took me about 20 minutes to make this arrangement, from start to finish. It is SUPER SIMPLE, so don't be intimidated by the floral foam if you have not used it before…you will LOVE IT!
Have fun creating and please let me know if you have any questions or comments! Also, you can share photos of your arrangements with me by direct message on Instagram, on FaceBook or by email! I would love to see what you create!

easy flower arrangements vase white
Source: https://sanctuaryhomedecor.com/friday-flowers-make-this-floral-arrangement-in-3-easy-steps/
Posted by: churchmeated.blogspot.com
0 Response to "easy flower arrangements vase white"
Post a Comment